Sana
Every December, ‘christmas hairstyles’ becomes one of the most searched beauty terms on Pinterest, and I see why from my chair: holiday photos live forever, and hair is the fastest way to look festive without buying a new outfit. This season the trends I am seeing everywhere are velvet bows, pearl pins, glass-like shine, and soft romantic texture, which means there is something current here whether you love glamour or simplicity.
This guide is for everyone from total beginners to confident stylers, and it covers straight, wavy, curly, and coily hair, from short bobs to very long lengths. Whether you are sixteen or sixty, hosting the dinner or just attending, you will find styles matched to real life: quick five-minute fixes, heat-free options, and showstoppers for the big night.
In this guide you will learn how to match each style to your face shape and hair type, the exact tools and products to use, how long each look really takes, and the mistakes that ruin holiday hair. I have spent years styling hair through the holiday rush, and I will be honest with you: the best Christmas hair is not the most complicated, it is the one you can actually pull off and enjoy. Let us find yours.
1. Loose Waves with a Gold Glitter Barrette
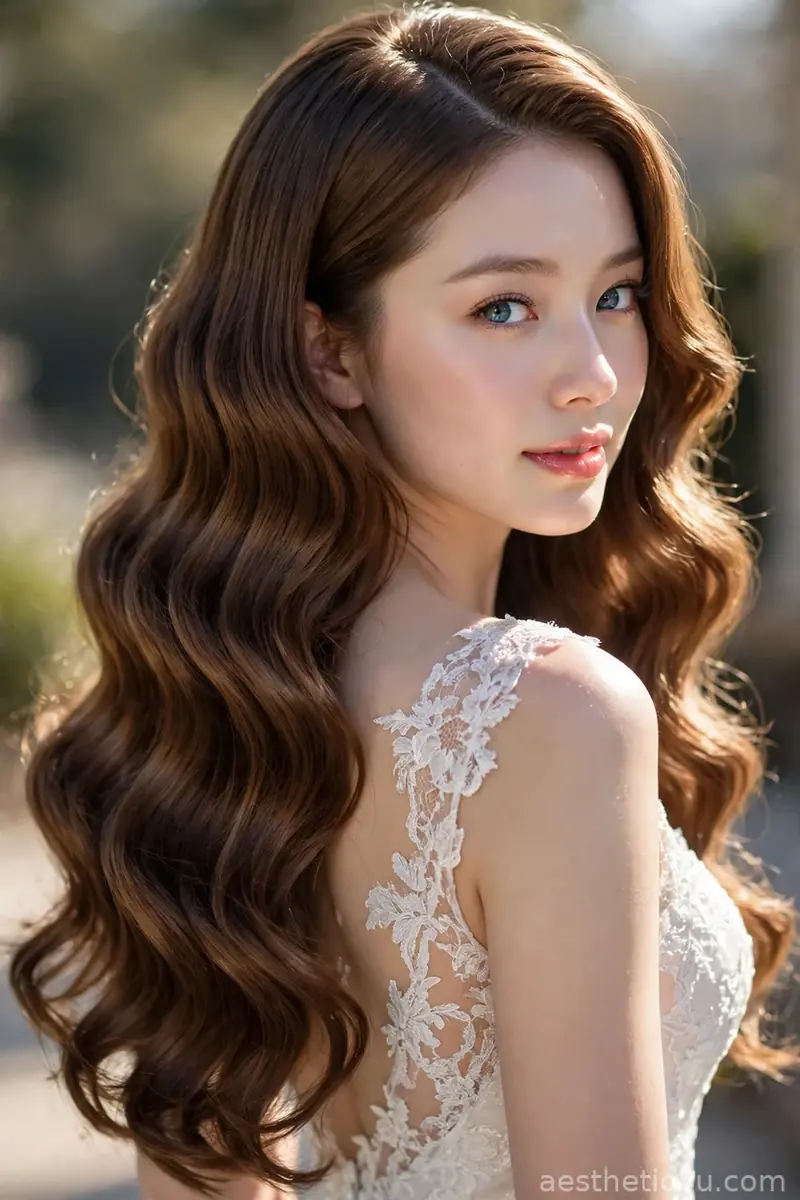
Long, loose waves with a relaxed, lived-in finish, kept smooth through the lengths rather than sculpted into uniform curls: the look is soft and touchable, not stiff. Start with a heat protectant, then wrap 1.5-inch sections around a 1.25-inch curling iron, alternating directions so the waves fall naturally, and brush through gently with a paddle brush. Slide a gold glitter barrette into one side just above the ear to pin that section back. It takes about 25 to 35 minutes on long hair, is beginner to intermediate, and the barrette adds instant holiday sparkle with zero extra styling.
This suits every face shape and works on medium to long hair, and it is my easiest glam look of the season. I’d pick this for Christmas dinner or drinks with friends, because the gold barrette makes loose waves feel dressed up with almost no effort. Honest caveat: barrettes slide on silky hair, so add a touch of texturizing spray at the spot before clipping, and choose one with a strong clasp so it survives the evening.
2. Velvet Ribbon Low Ponytail
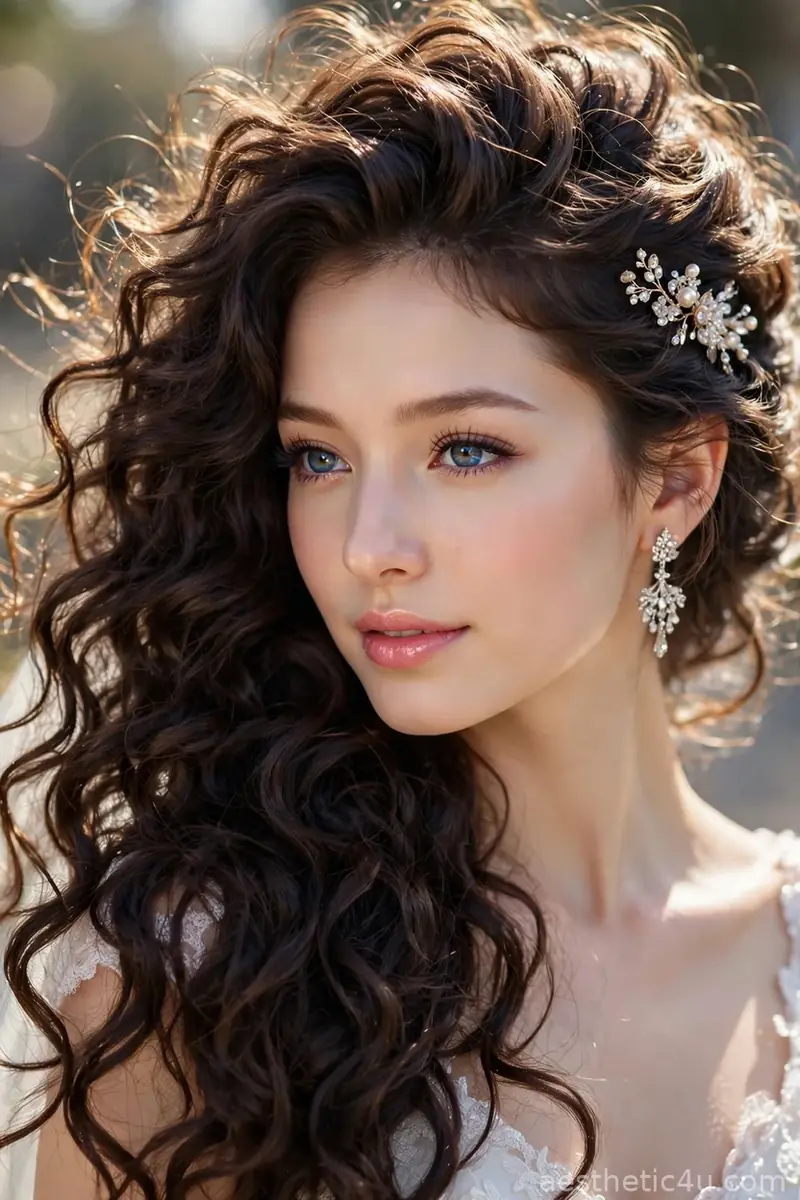
A smooth low ponytail secured at the nape, finished by tying a wide velvet ribbon (about 1.5 to 2 inches wide) around the elastic in a full bow. Smooth the top with a paddle brush and a pea-sized amount of smoothing serum, secure with a snag-free elastic, then wrap the ribbon over it and tie a double knot so it survives hugs. This takes under ten minutes, is beginner-easy, and works beautifully on second-day hair that already has some natural grip.
This suits every face shape and hair length from shoulder to long, and it is my top pick for hosts who need hair out of the way while cooking or greeting guests. I’d pick this for Christmas morning or a casual dinner, because it looks intentional with zero stress. One tip: thin velvet ribbons slip, so choose a wired-edge ribbon or stitch a small piece of velcro behind the knot to keep the bow perky all day.
3. Braided Crown Updo
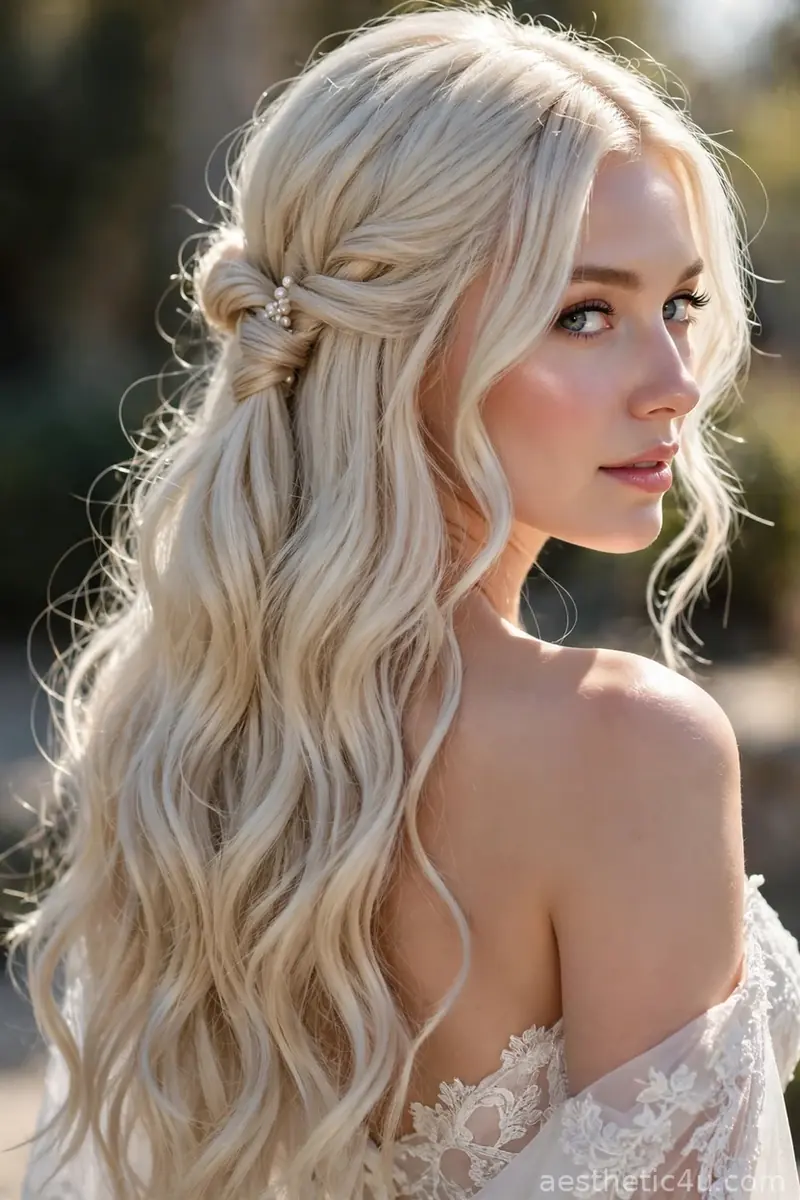
A Dutch braid (where strands cross under instead of over) worked from one ear, around the back of the head, to the other ear, then pinned in a circle like a crown with the tail tucked underneath. Start with a texturizing spray for grip, keep the braid close to the hairline, and use at least eight bobby pins, crossing them in X shapes for hold. It takes 15 to 20 minutes, is intermediate level, and the finished crown looks far more complicated than it is.
This flatters round and oval faces by adding height at the crown, and it suits medium to long hair with enough length to wrap. I’d pick this for a long party night or a Christmas Eve service, because it keeps every strand off your neck and looks beautiful from every angle. Caveat: very silky, freshly washed hair slips out of pins, so braid on day-old hair or rough up the roots with dry shampoo first.
4. Sleek Glass Hair with a Middle Part
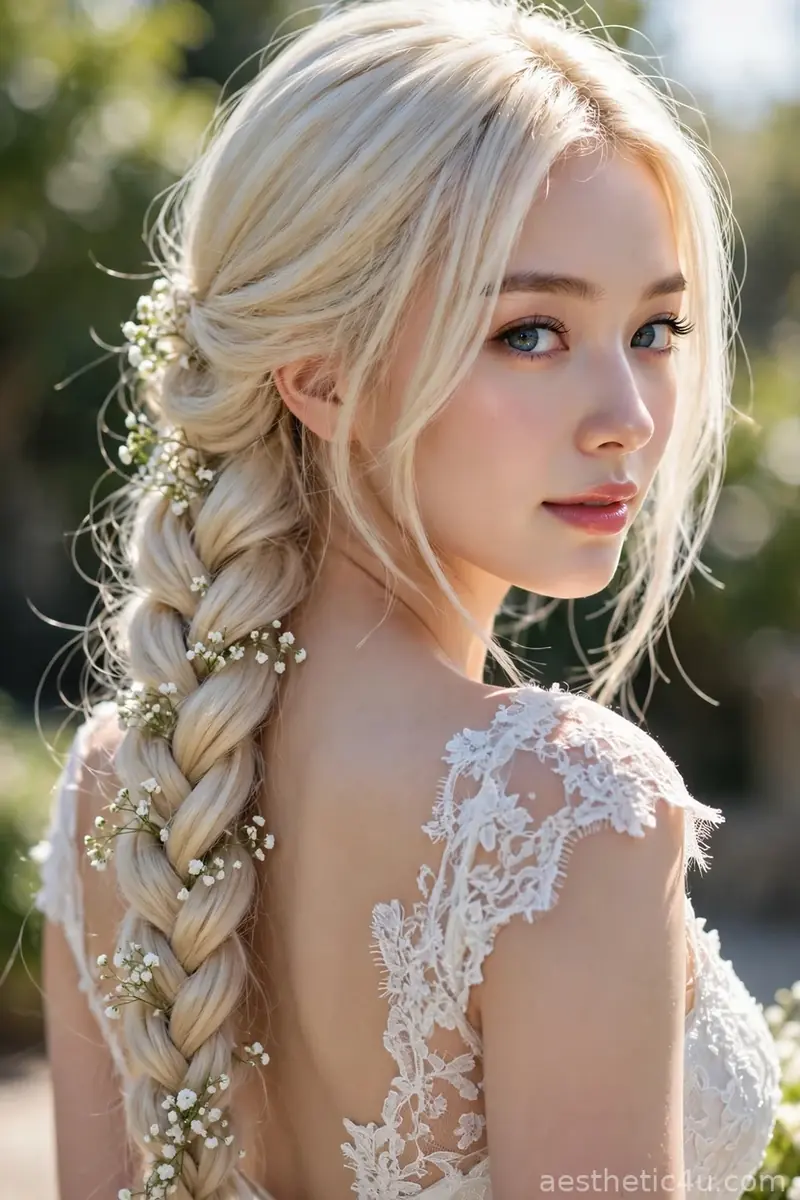
Pin-straight, mirror-shine hair with a clean middle part and a liquid, reflective finish, sometimes called glass hair. Create the middle part while the hair is damp, then work a heat protectant through, blow-dry smooth with a paddle brush, and pass a flat iron in thin sections at 350 to 375 degrees. Finish with two drops of silicone-based shine serum pressed into the mid-lengths and ends. It takes 25 to 35 minutes depending on thickness, is beginner to intermediate, and the shine is what sells the whole look.
Glass hair suits oval, heart, and long faces best, and it needs medium to long hair with minimal layers for that seamless sheet of shine. I’d pick this with a bold red lip and simple gold hoops, letting the hair be the quiet luxury of the outfit. Honest caveat: humidity is the enemy, so finish with an anti-humidity spray and avoid touching your hair, because every fingerprint shows on this finish.
5. Half-Up Curly Puff with a Velvet Bow Clip
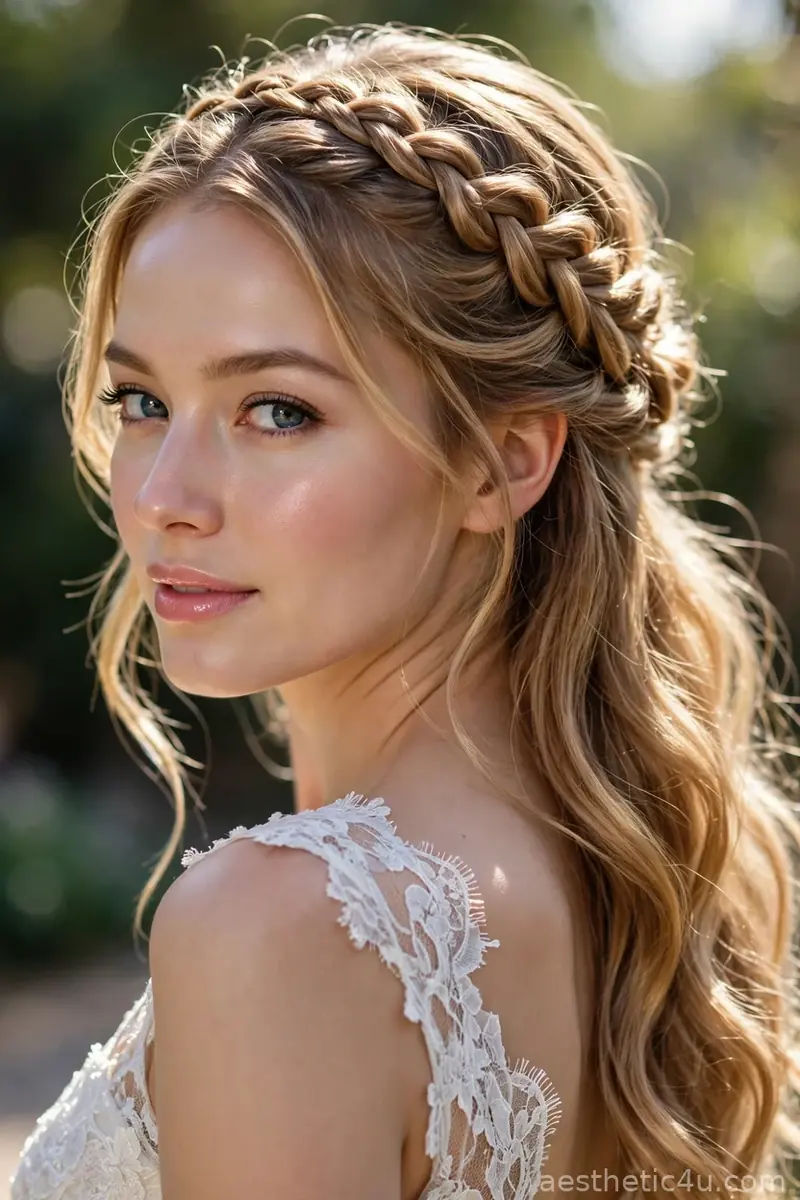
The top half of curly hair gathered into a soft puff at the crown while the rest of the curls fall free, finished with a small black velvet bow clip pinned at the side of the puff. Section from temple to temple, smooth the top lightly with a curl cream, gather at the crown, and secure with a covered elastic without pulling the curls straight. Clip the bow just above the ear, letting it grip the gathered section. It takes under ten minutes, is beginner-easy, and the bow turns a simple half-up into holiday hair.
This is made for naturally curly and coily hair of any length past the chin, and it suits round and heart-shaped faces by adding crown height. I’d pick this when I want my curls to be the star with a festive touch, because the black bow keeps it classy instead of costume. Pro tip: refresh the loose curls with a water and leave-in mist, and choose a bow clip with a real grip so it stays put in thick curls.
Keep exploring: 23 Christmas Party Hairstyles Everyone Will Be Copying
6. Messy Side Bun with Face-Framing Strands
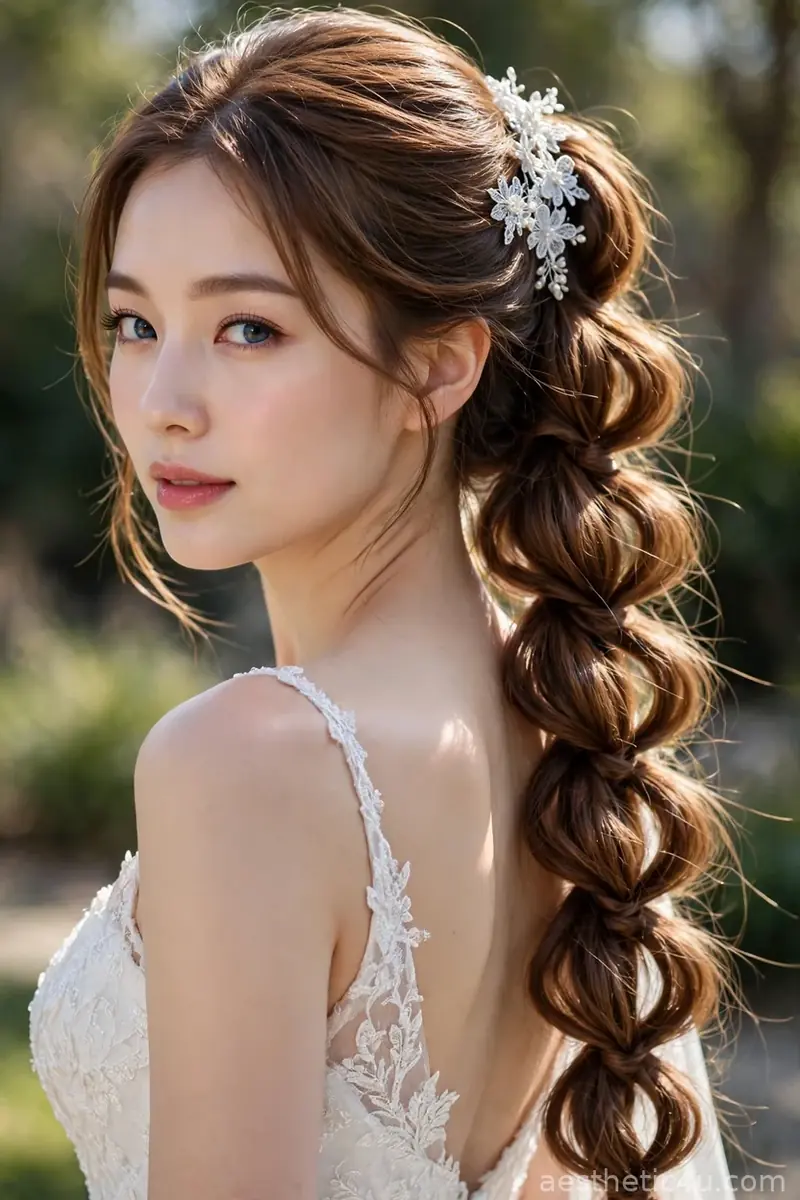
A loose, textured bun worn off to the side, with soft strands pulled free in front to frame the face: casual, romantic, and deliberately undone. Rough-dry with a texturizing spray, sweep the hair to one side, twist loosely into a bun, and pin without smoothing, because the piecey finish is the point. Pull the front strands out last and curl them lightly away from the face. It takes ten to fifteen minutes, is beginner-easy, and the asymmetry keeps it from ever looking flat or severe.
This is my go-to recommendation for fine or thin hair, because the texture and teasing make the bun look twice as full, and it suits round and square faces thanks to the softening strands. I’d pick this when I want one of the most comfortable updos you can wear all evening, and side placement feels fresh. Pro tip: skip heavy oils beforehand, since grip matters more than shine here, and a matte texture powder at the roots adds believable volume.
7. Textured Side Bun with Face-Framing Strands
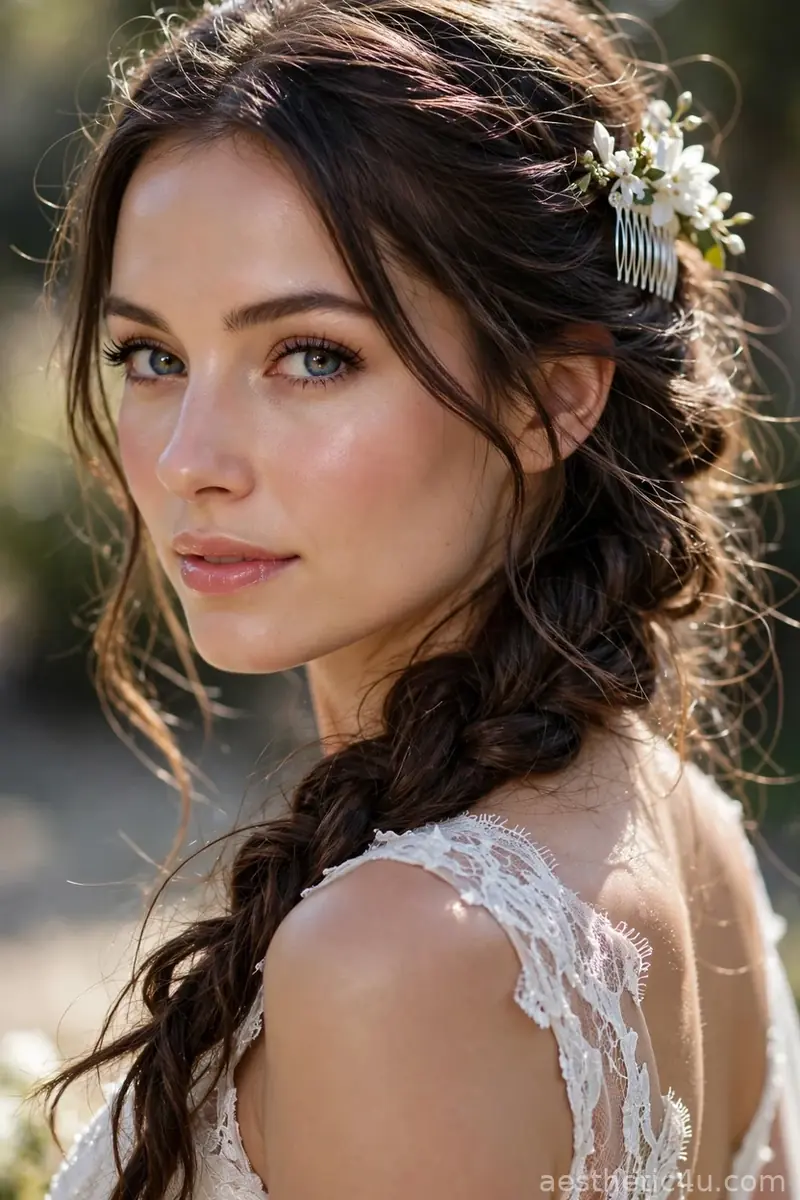
A messy textured bun worn to the side, with long face-framing strands falling loose on both sides of the face for a soft, romantic finish. Rough-dry the hair with a texturizing spray, sweep everything to one side, twist loosely into a bun at the side, and pin without smoothing, because the piecey texture is the point. Pull the front strands out last and curl them lightly away from the face. It takes ten to fifteen minutes, is beginner-easy, and the side placement makes the look feel fresh and modern.
This flatters round and square faces beautifully, since the side bun and long strands break up width, and it suits medium to long hair with highlights that show the texture. I’d pick this for a casual Christmas dinner or family gathering, because it looks effortless but still polished in photos. Honest caveat: a side bun slides without grip, so work on day-old hair or add dry shampoo at the roots, and anchor with crossed bobby pins.
8. Glossy Straight Hair with a Headband
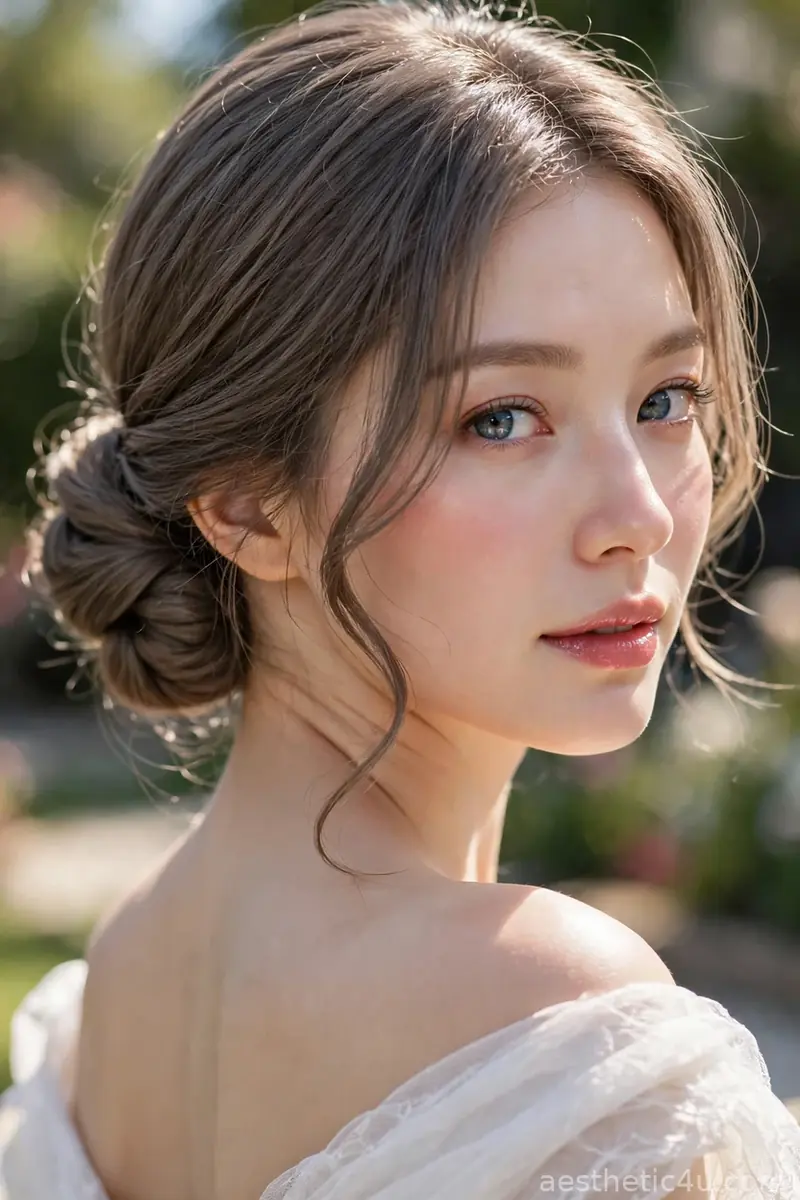
Straight, shiny hair finished with a statement headband in velvet, jewels, or a padded style for extra drama, while everything else stays simple. Flat-iron the hair in clean sections with a heat protectant, press a shine serum through the ends, then place the headband about an inch behind the hairline and gently push it back for a little lift. It takes twenty minutes, is beginner-easy, and the headband dresses up even freshly washed plain hair. Choose gold or deep red for the most Christmas-ready effect.
This suits every face shape and works on short to long hair, which is why I love it as a last-minute option. I’d pick this when I want a festive look with almost zero effort, because one accessory does all the talking. Honest caveat: headbands slide on silky hair, so mist the roots with dry shampoo first and choose a band with a velvet or silicone grip underneath to lock it in place.
9. Chunky Side Braid Over the Shoulder
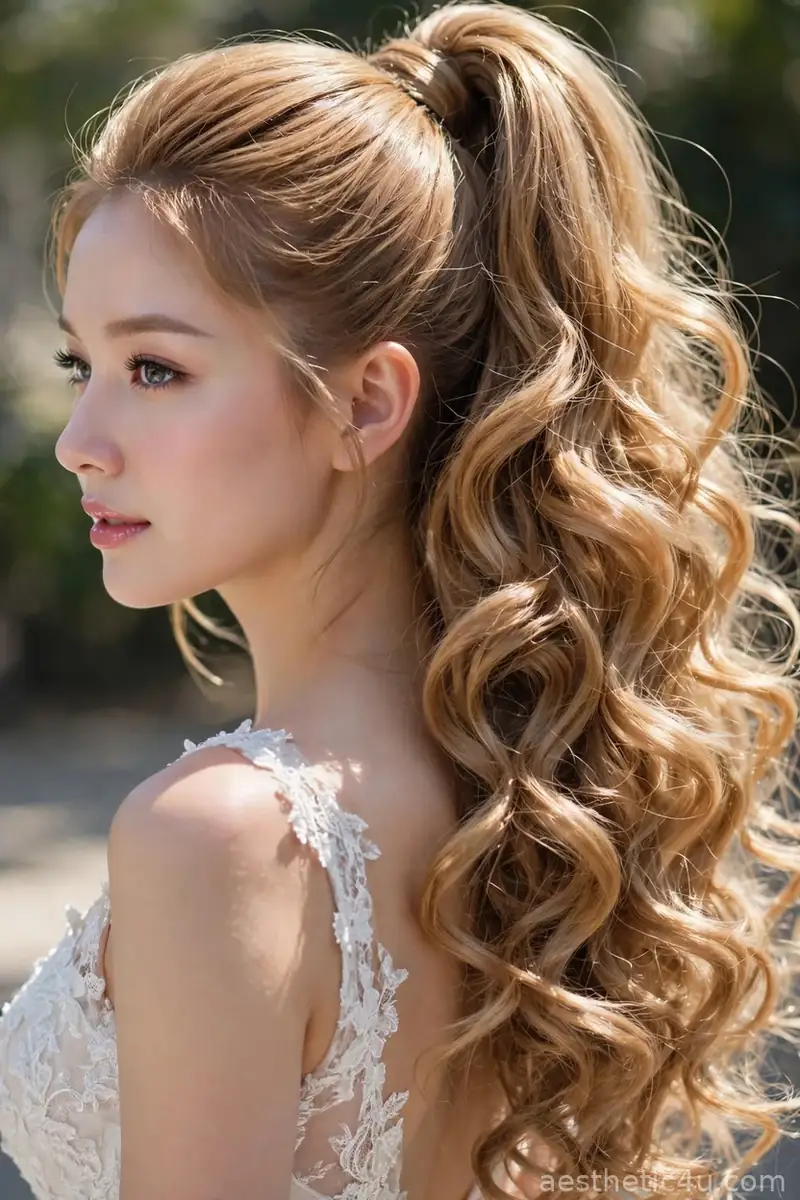
A thick three-strand braid swept over one shoulder, gently pancaked for width so it looks full and soft: chunky, romantic, and simple to build. Gather the hair to one side, divide into three even sections, and braid with even tension, keeping the braid close to the collarbone. Once tied with a clear elastic, gently pull each ridge wider, starting at the bottom, for a fuller finish. It takes fifteen to twenty minutes, is intermediate, and the pancaking step is what makes it look expensive.
This suits long hair best and flatters oval, round, and heart-shaped faces, since the diagonal line across the body is slimming in photos. I’d pick this for long parties, because it survives hugs, dancing, and wind better than almost any other style. Pro tip: braid slightly looser than you think, and add a small velvet bow at the end instead of a plain elastic for an instant Christmas finish.
10. Vintage Pin Curls
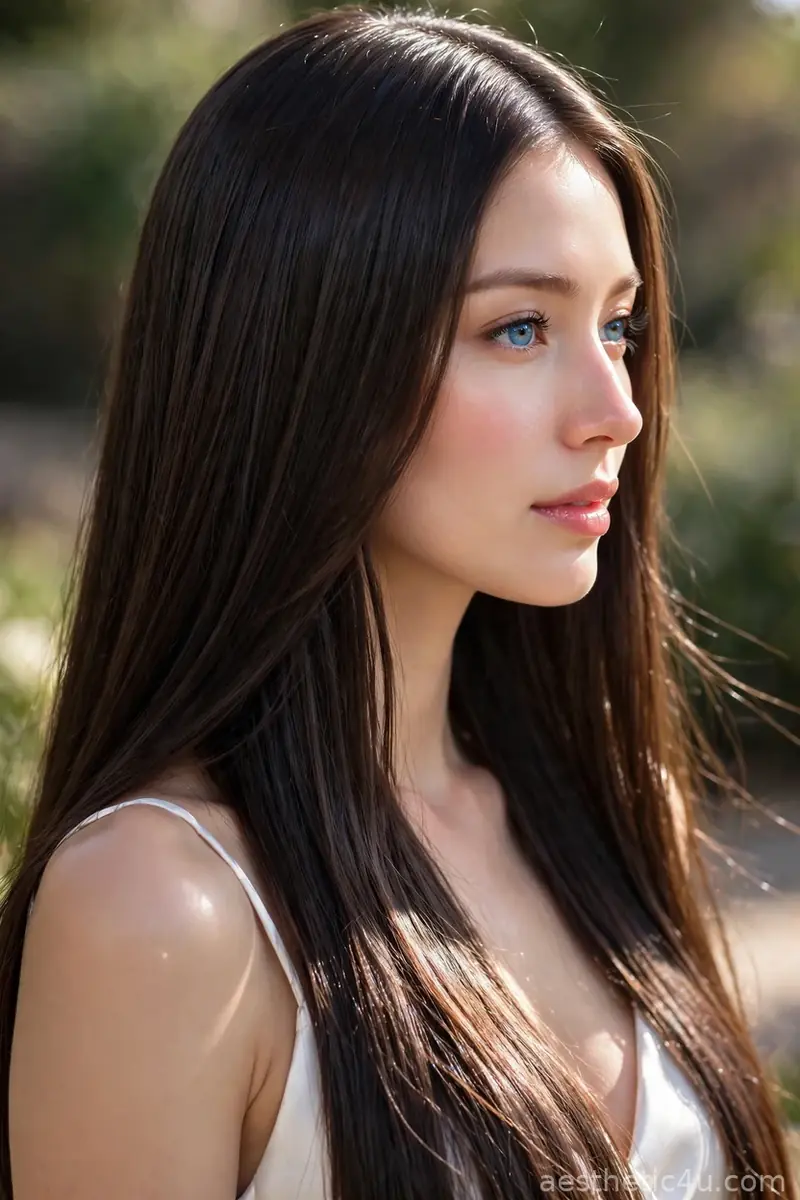
Short, sculpted curls set close to the head in the 1940s style, with that unmistakable vintage swirl. The classic method is setting damp hair in pin curls with a setting lotion and letting them dry fully, but a modern shortcut is wrapping small sections around a half-inch iron and pinning each to cool. It takes 45 minutes to an hour, is advanced, and the payoff is pure old-Hollywood glamour that photographs like a dream. Work in small sections and keep the curls uniform for the most authentic finish.
This works best on short to medium hair and suits oval and heart-shaped faces, especially with a strong brow and red lip. I’d pick this with a cocktail dress when I want a true retro moment, because nothing else reads vintage this convincingly. Honest caveat: it takes real setting time and strong-hold product, so do not attempt this an hour before you leave, and keep a silk scarf handy to protect the set on the way there.
Keep exploring: 21 Elegant Christmas Hairstyles That Never Go Out of Style
11. Half-Up Twisted Halo
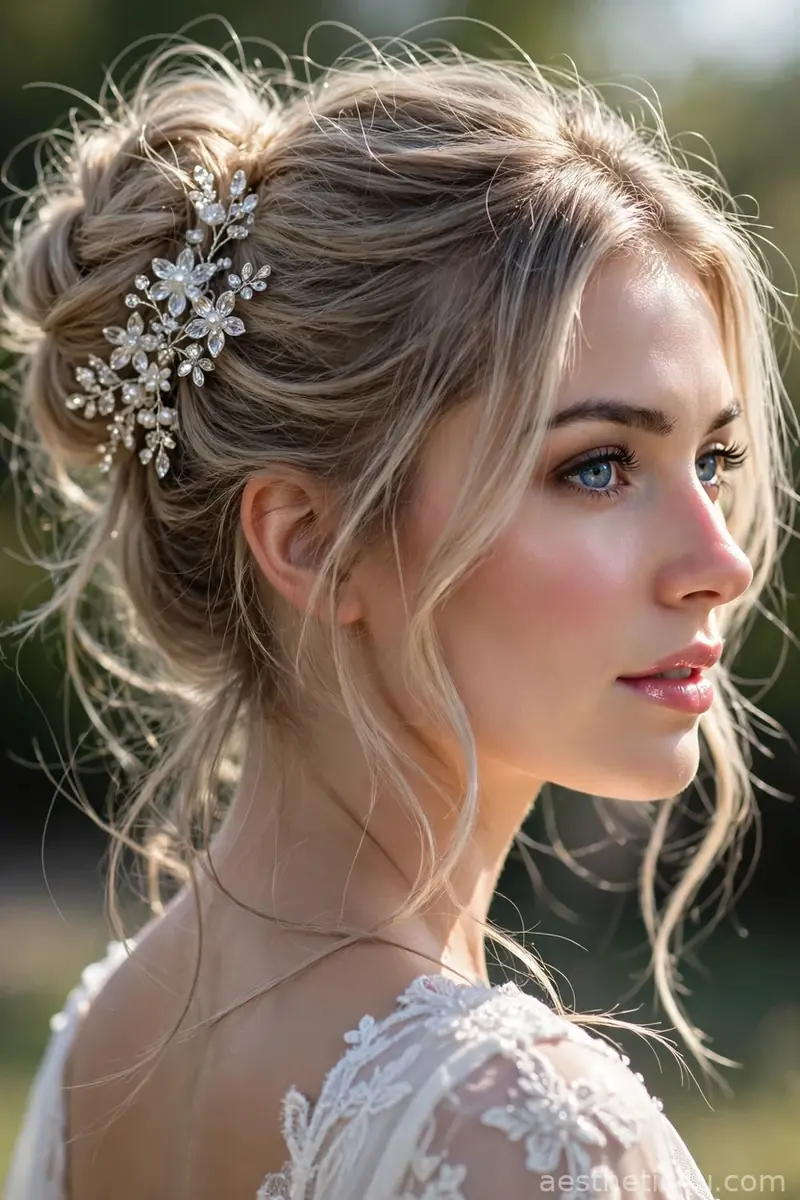
Two twisted sections pulled from the front and pinned at the back like a halo, with the rest of the hair falling loose. Take a two-inch section from each temple, twist them back away from the face, cross them at the back of the head, and pin with bobby pins tucked underneath the twist. Backcomb the crown lightly first for lift. It takes under ten minutes, is beginner-easy, and reads romantic without any heat styling. A light mist of flexible-hold spray keeps the twists from loosening through the evening.
This suits almost every face shape and works on hair from shoulder-length to long, which makes it my most-recommended quick style. I’d pick this when I want my hair out of my face but still down, because it is quick, flattering, and photograph-friendly. One tip: if your hair is very straight and slippery, twist on second-day hair or add a little texturizing spray first so the pins actually grip.
12. Soft Bouncy Blowout
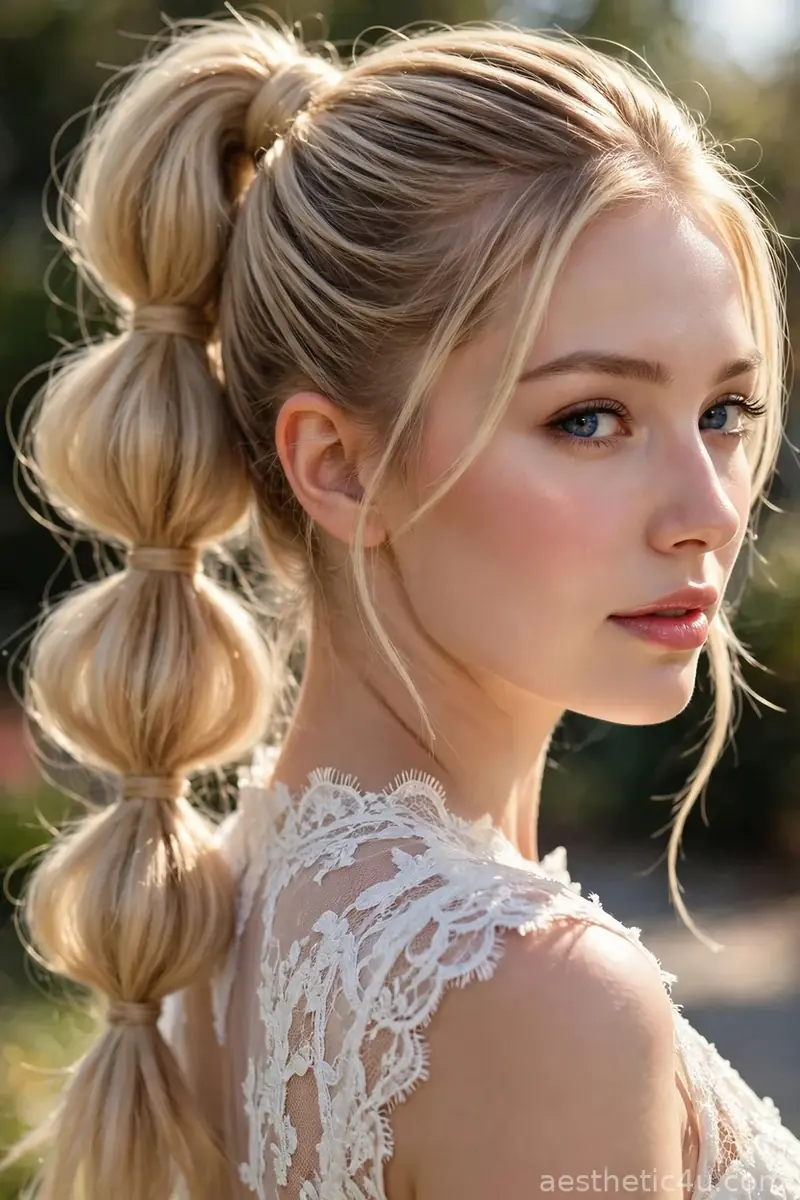
A salon-style blowout with big, soft volume and curled-under ends, the kind of hair that moves when you walk. Rough-dry to eighty percent, then work in sections with a large round brush, rolling the ends under and blasting each with the cool shot to set. A volumizing mousse at the roots and a light serum on the ends finish it. It takes 30 to 45 minutes at home, is intermediate, and a fresh blowout is classic happy hair for Christmas morning photos.
This suits every face shape and hair type with enough length to wrap around a brush, roughly shoulder-length and longer. I’d pick this when I want to feel like the best version of myself, because a blowout goes with literally everything in your closet. Honest caveat: it falls fastest on fine, unlayered hair, so sleep on a silk pillowcase the night before and revive day-two volume with dry shampoo at the roots.
13. Messy Top Knot with Ribbon
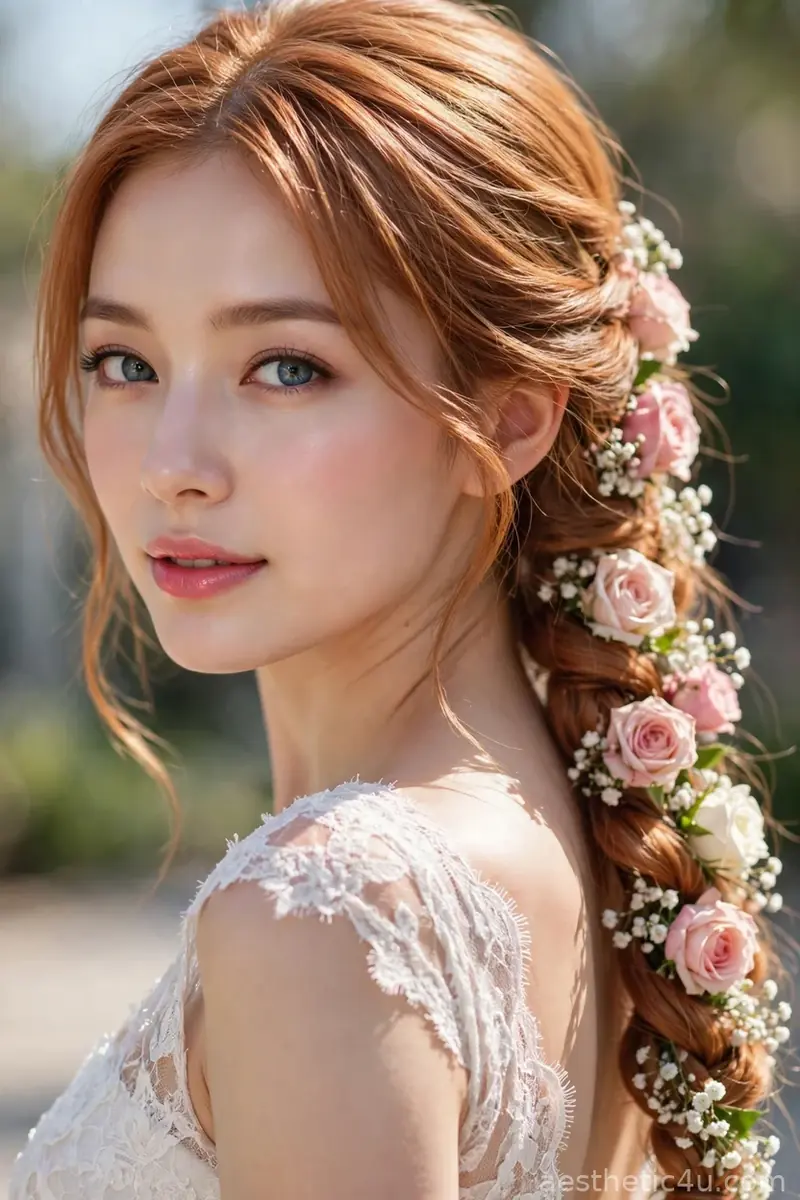
A loose knot piled on top of the head, finished with a ribbon tied around the base, where the messier the better. Flip the head upside down, gather into a high ponytail, twist loosely and wrap into a knot, pinning without smoothing, then tie the ribbon around the base and let the ends hang. It takes five minutes, is beginner-easy, and it is the cozy holiday look that keeps hair out of the way while you cook or wrap gifts.
This suits oval, heart, and long faces best, and it works on medium to long hair with enough length to wrap. I’d pick this for a casual gathering or a day of hosting, because the ribbon still says festive while you stay comfortable. Pro tip: a donut form underneath gives thin hair believable bulk, and pulling a few pieces loose around the face keeps the knot from looking severe.
14. Dutch Braid Pigtails with Velvet Bows
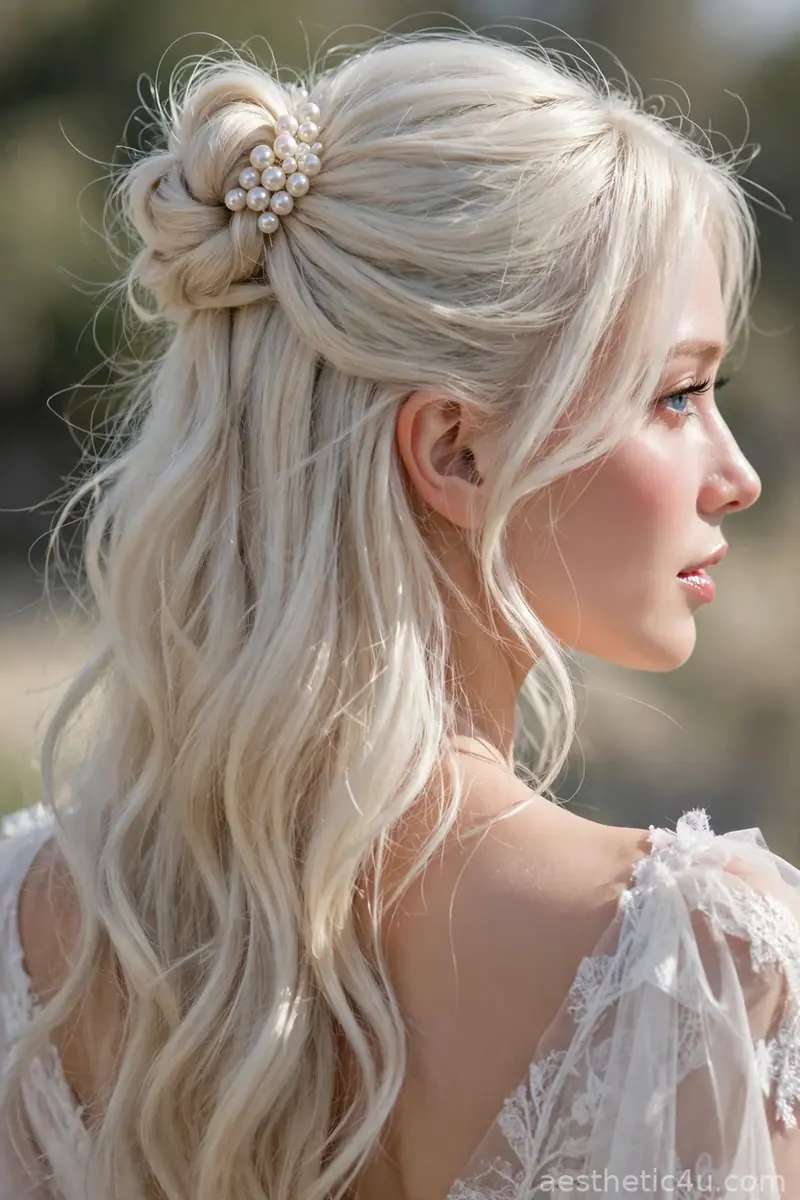
Two Dutch braids worn low, each tied with a velvet bow at the end, with the braids sitting raised on top of the hair for a bold 3D effect. Part down the middle, Dutch-braid each side by crossing strands under, and pancake the edges gently for width before tying. Knot a pre-tied velvet bow over each elastic. It takes 20 to 30 minutes, is intermediate, and matching bows give a sweet, put-together finish. A spritz of texturizing spray before braiding keeps the raised sections from slipping flat.
This suits oval and heart-shaped faces and works best on medium to long hair with enough length for two full braids. I’d pick this for a Christmas market or a day out with friends, because it is playful without reading childish when the styling is neat. Honest caveat: it skews young, so keep your outfit and makeup grown-up, and skip this one for formal evening events where an updo fits better.
15. Elegant Chignon with Pearl Pins
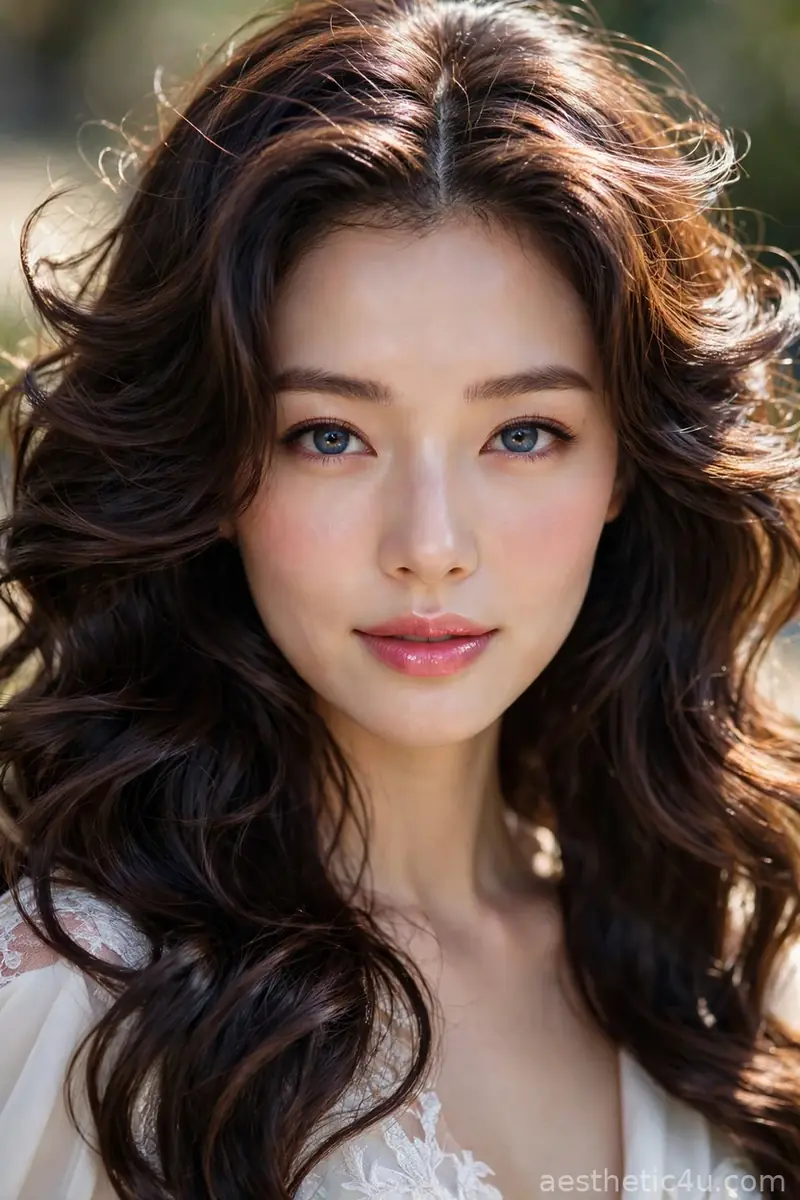
A smooth low chignon decorated with pearl pins that catch the light and make a simple bun look expensive. Gather the hair low, twist into a neat coil at the nape, and pin securely, keeping the part clean for the best effect. Then scatter five to seven pearl pins at different angles through the coil. It takes ten to fifteen minutes, is beginner to intermediate, and the pearls read as jewelry for your hair. A light mist of shine spray over the finished chignon deepens the polished effect.
This suits every face shape and works on medium to long hair, which is why it is my safest formal recommendation. I’d pick this for anywhere fancy, because it is timeless and it never photographs badly. Pro tip: pearl pins are cheap but look costly, so buy a mixed-size set and place the largest pearls near the front where the light hits them first.
Keep exploring: 21 Christmas Hairstyles With Bows That Started a Trend
16. Wavy Lob with a Deep Side Sweep
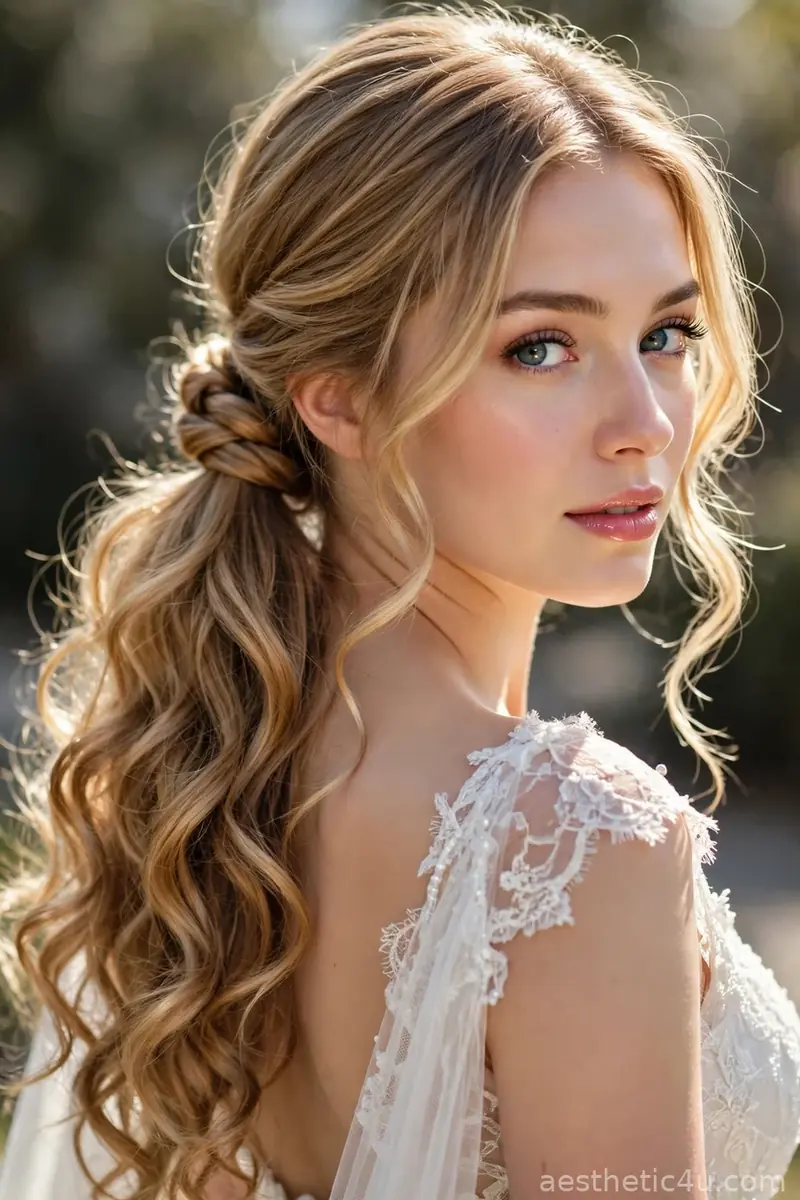
A shoulder-length cut styled with loose waves and a dramatic deep side sweep, where the asymmetry adds instant glamour. Create the deep part while the hair is damp, then wrap sections around a 1.25-inch iron away from the face and brush out softly. Tuck the lighter side behind the ear to show off earrings. It takes twenty to twenty-five minutes, is beginner to intermediate, and it is a great holiday length with maximum impact. A root-lifting spray at the part keeps the deep side from falling flat by dessert.
This suits round and square faces beautifully, because the deep part and diagonal sweep break up width, and it is made for the lob length. I’d pick this when I have a lob and want maximum impact with minimum effort, since one tucked side shows off earrings gorgeously. Honest caveat: the sweep collapses on very fine hair, so set the part with a strong-hold spray and carry two bobby pins for a mid-evening rescue.
17. Romantic Waterfall Braid
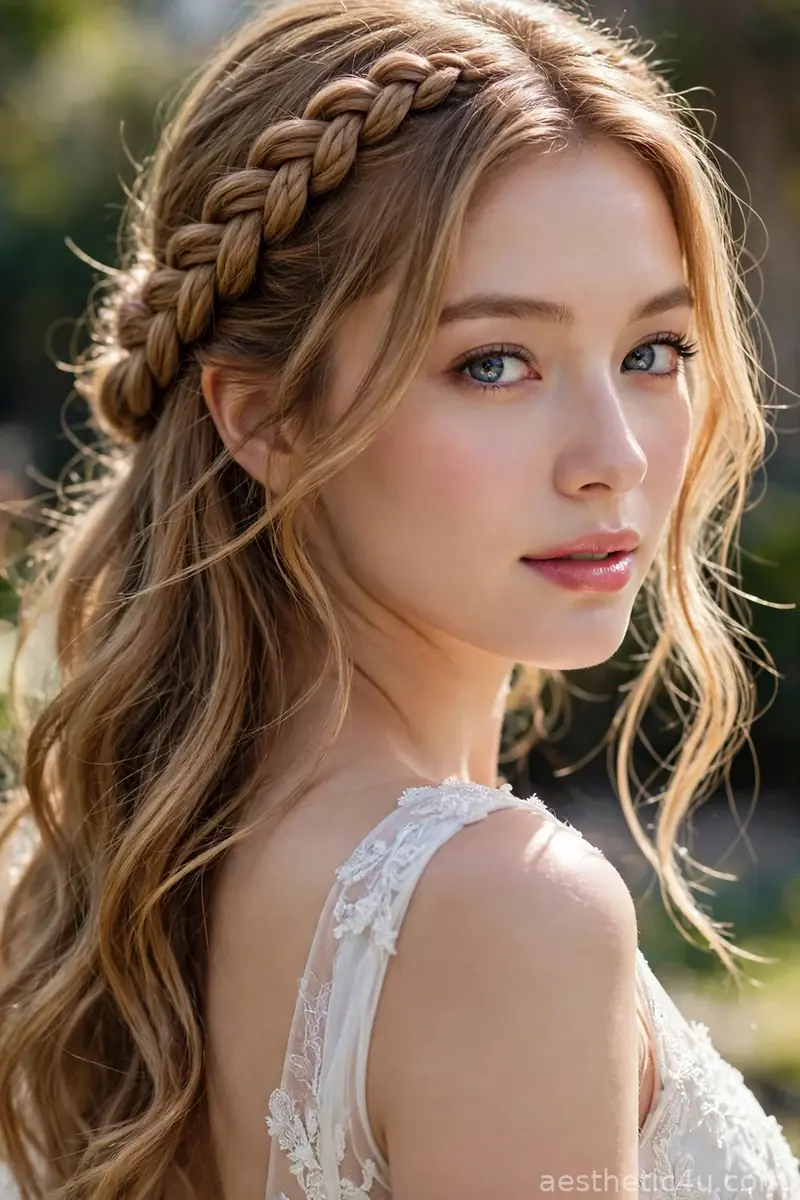
A braid that travels across the head while letting strands fall through it like a waterfall, with the falling pieces blending into loose hair below. Start a three-strand braid at the temple, and each time you cross the top strand, drop it and pick up a new piece from underneath instead. It takes about ten minutes once you know the pattern, is intermediate, and a single practice run is all most people need. Mist with a light-hold spray before braiding so the dropped strands stay silky, not fuzzy.
This suits long hair best and flatters oval, heart, and long faces, since the horizontal braid shortens the face visually. I’d pick this for a Christmas Eve dinner when I want something dreamy, because it looks complicated but takes ten minutes. Pro tip: practice once on a quiet evening and you will wear it all season, and a tiny clear elastic at the end disappears into the hair.
18. Sleek High Ponytail with Wrapped Base
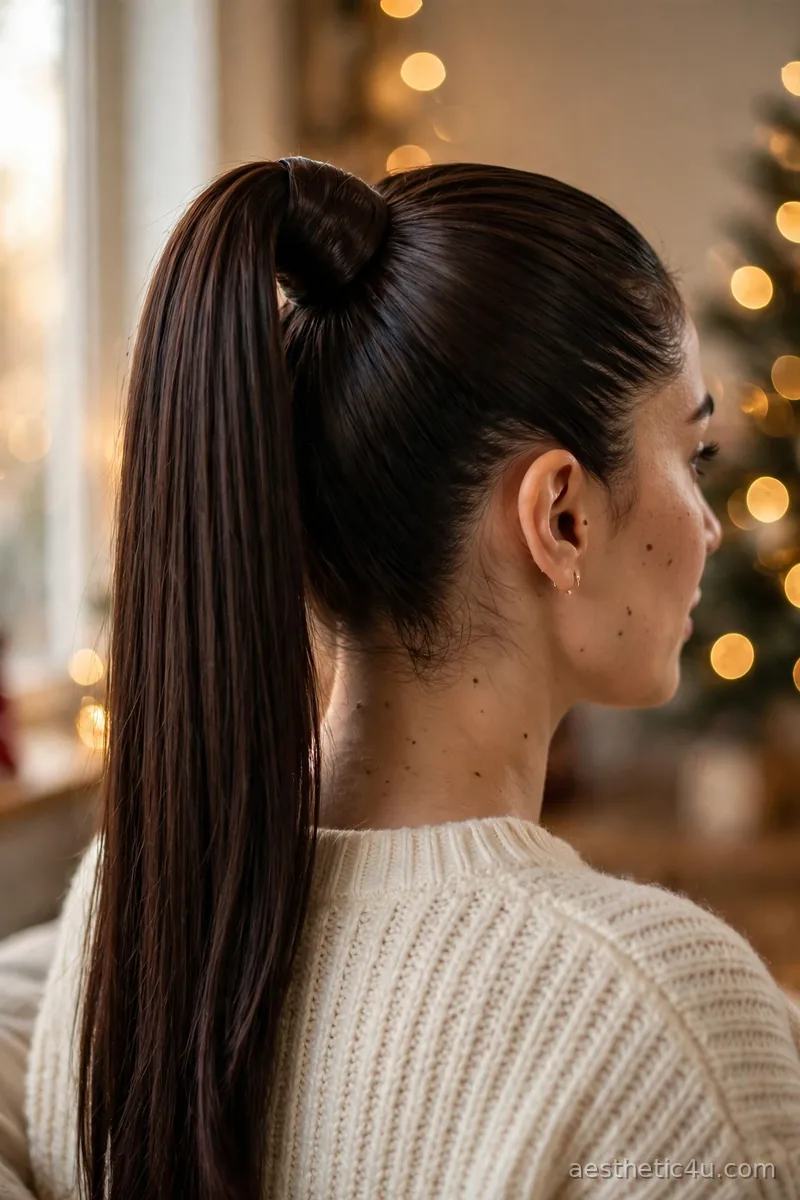
A high ponytail with the elastic hidden under a wrapped strand of hair, smoothed at the top with gel or serum for a clean finish. Brush everything up tightly, secure high on the crown, take a half-inch strand from underneath the tail, wrap it around the base, and pin underneath. Curl the tail or keep it straight. It takes fifteen minutes, is beginner to intermediate, and the wrapped base is the small detail that makes it look salon-done every time.
This suits oval, heart, and long faces, and it needs medium to long hair with enough density to hold height. I’d pick this for a night out dancing, because it looks sharp, feels powerful, and stays put through everything. Honest caveat: a too-tight ponytail causes headaches and breakage, so anchor with two elastics in a crisscross instead of one, and loosen the front slightly after securing.
19. Curly Half-Up Puff
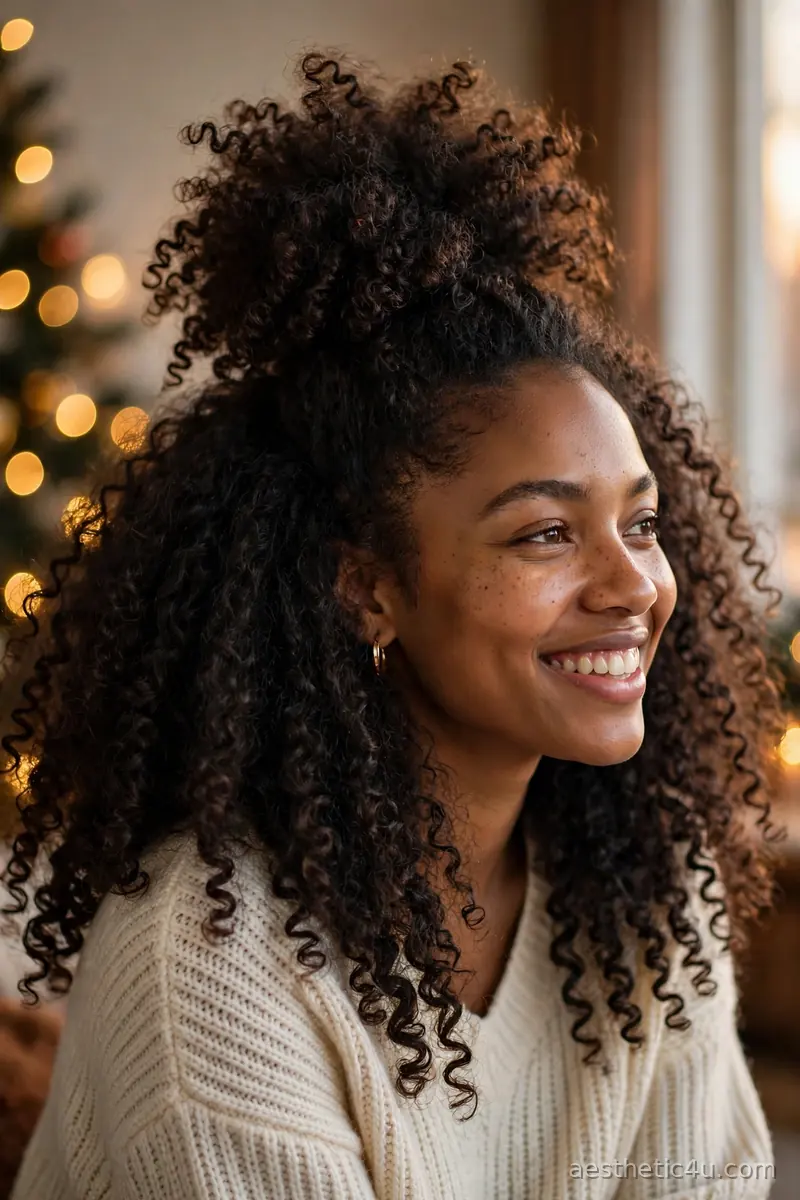
The top half of curly hair gathered into a puff while the rest stays free, showing off natural texture and keeping curls out of the face. Section from temple to temple, smooth the top lightly with a curl cream, gather at the crown, and secure with a scrunchie or covered elastic without pulling the curls straight. It takes under ten minutes, is beginner-easy, and it celebrates your texture instead of fighting it. Refresh the loose curls with a water and leave-in mist so the bottom half looks as fresh as the puff.
This is made for naturally curly and coily hair of any length past the chin, and it suits round and heart-shaped faces by adding crown height. I’d pick this when I want my curls to be the star, adding a festive scrunchie or bow clip to the puff for Christmas. Pro tip: pineapple the puff loosely at night with a satin scrunchie, and it will survive to day two with minimal refreshing.
20. Scarf-Wrapped Low Bun
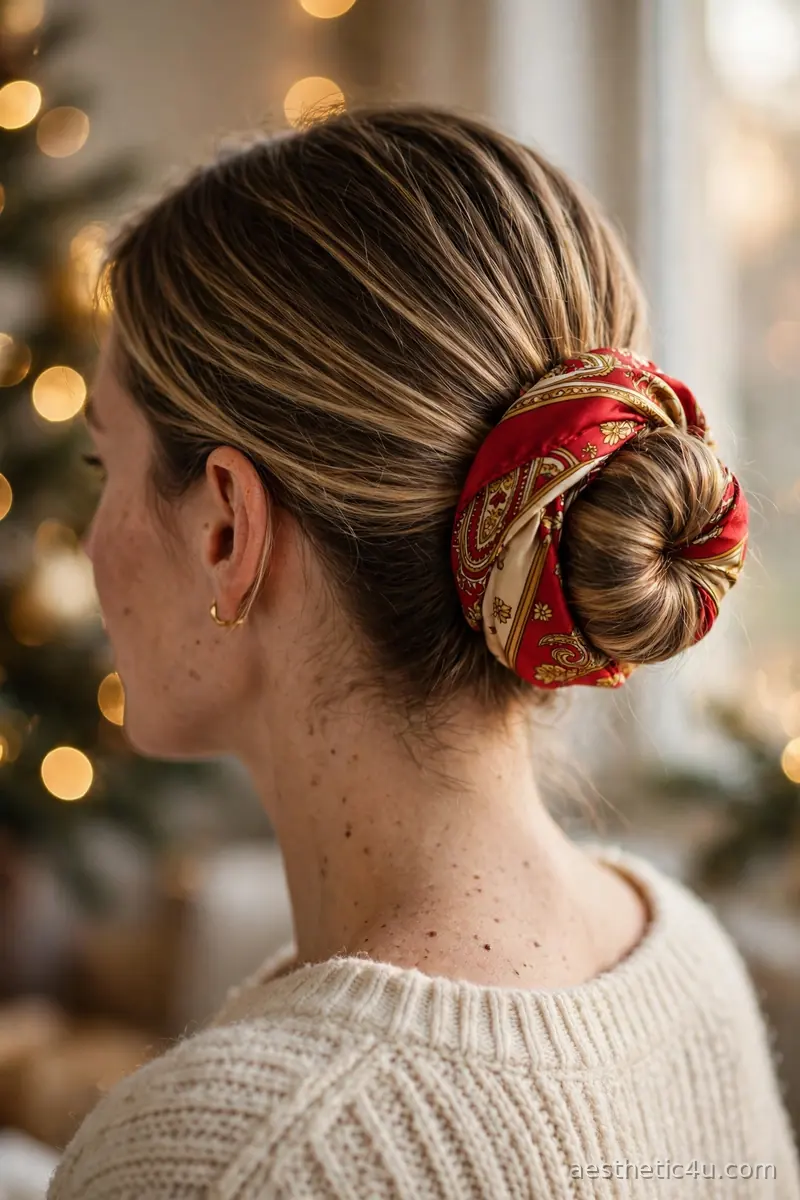
A low bun wrapped with a printed scarf that weaves around the bun and ties underneath, where a holiday print gives instant theme. Make a simple low bun first, then wrap a long silk or satin scarf around its base two to three times and knot underneath, letting the ends hang or tucking them in. It takes ten minutes, is beginner-easy, and it adds color without dye while hiding even the messiest bun. Choose a scarf at least 30 inches long so you get two full wraps plus a knot.
This suits every face shape and works on medium to long hair, and it is my favorite lazy-day trick. I’d pick this when I want color and pattern with zero styling stress, because a plaid or tartan scarf does all the festive work. Honest caveat: silk scarves slip on smooth buns, so anchor the bun with extra pins first and choose a scarf with a little texture, like cotton or a satin with grip.
Keep exploring: 25 Christmas Hairstyles Updo Ideas That Look Straight Out of a Movie
21. Shiny Curtain Layers
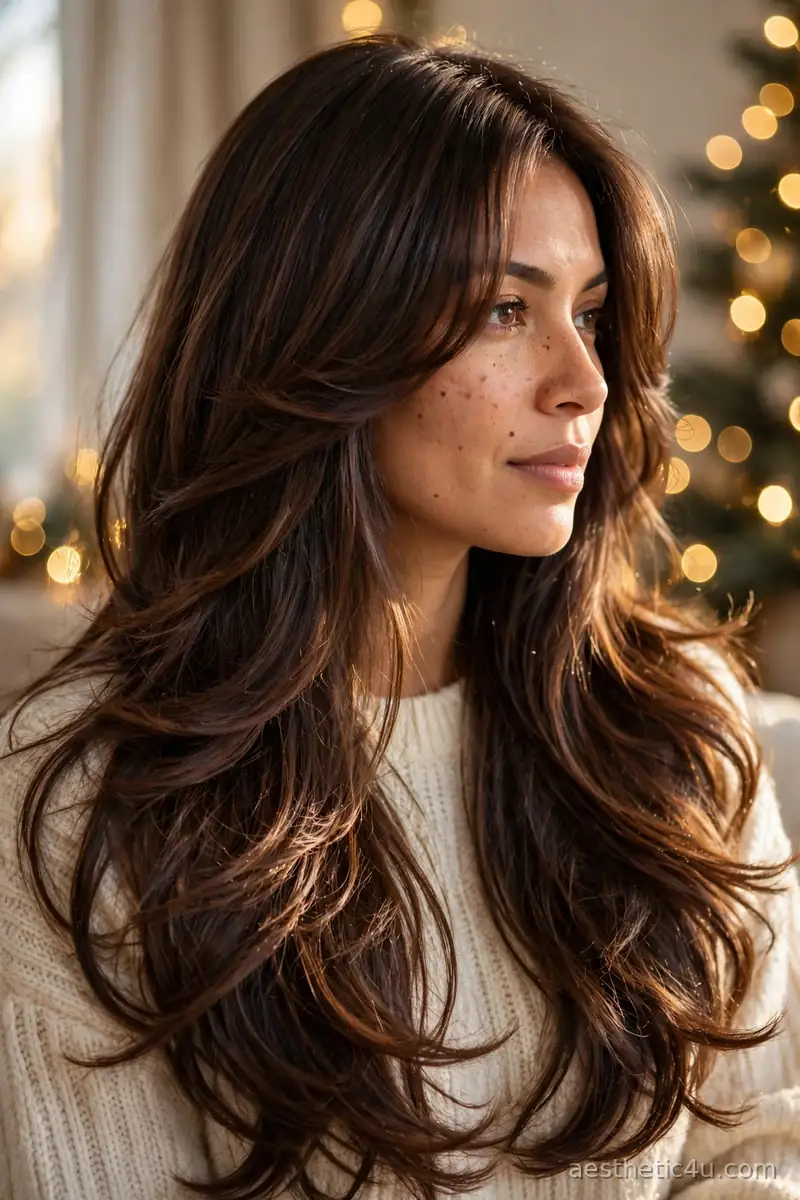
Long layers with a curtain part, styled smooth and shiny, where the layers frame the face and the shine does the talking. Blow-dry with a large round brush, rolling the front layers away from the face, then finish with a cool shot of air and a shine serum pressed through the ends. It takes 25 to 35 minutes, is intermediate, and the result is a fresh, modern look that still feels festive. Ask your stylist for face-framing layers starting at the cheekbones to get the true curtain effect.
This suits oval, long, and heart-shaped faces especially well, and it needs medium to long hair with layers cut in. I’d pick this when I want a low-maintenance look for the whole season, because shiny, healthy-looking hair never needs much else. Pro tip: a weekly glossing treatment or clear gloss at home keeps the shine reflective through December’s dry indoor heating.
22. Bubble Braid Ponytail
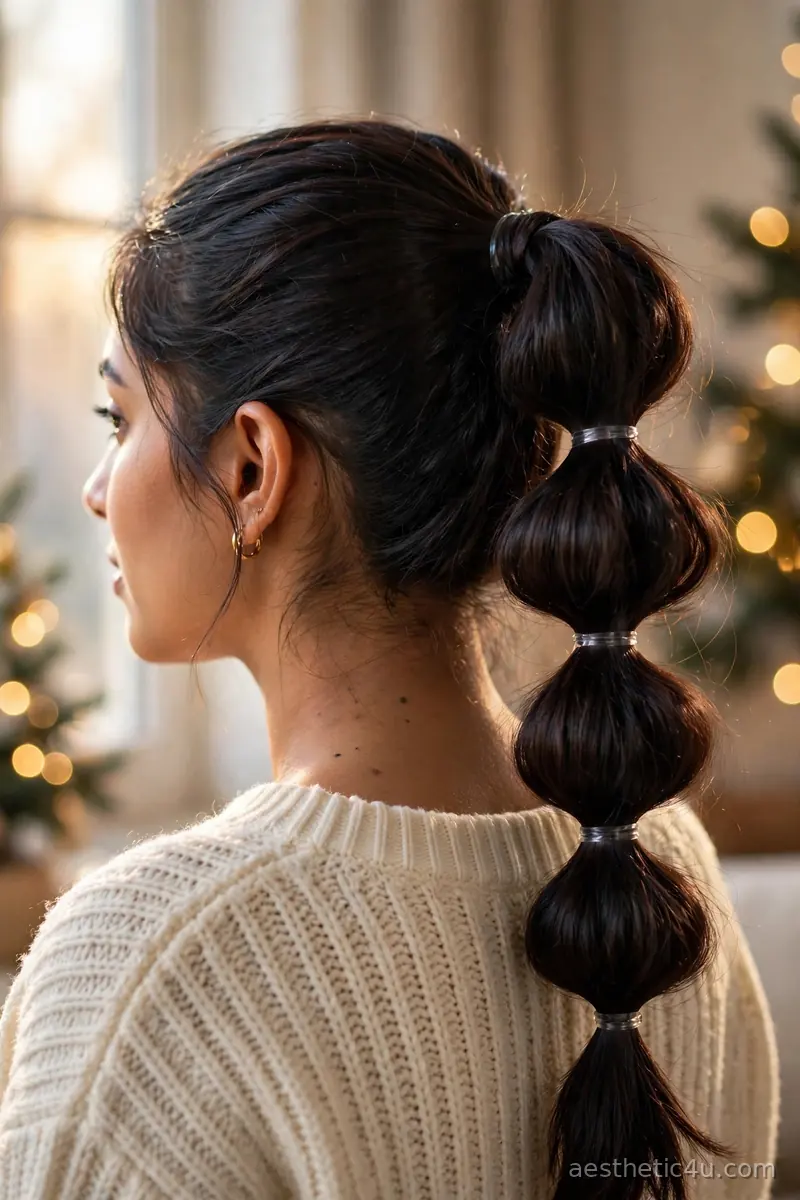
A ponytail divided into puffed sections with small elastics, creating a bubble effect down the length. Secure a sleek ponytail first, place elastics every two to three inches down the tail, then gently pull each section wider with your fingertips for fullness. It takes fifteen minutes, is beginner to intermediate, and the sleek top keeps the playful bubbles looking grown-up. Use clear mini elastics so the ties disappear, and mist the finished bubbles with a flexible-hold spray to hold the shape.
This suits long hair best and flatters oval and heart-shaped faces, since the vertical line elongates the neck. I’d pick this for a holiday party with friends when I want something fun that stands out in photos. Honest caveat: it needs real length to look right, so on medium hair try just two or three bubbles near the ends instead of a full run.
23. Old Hollywood Side Sweep
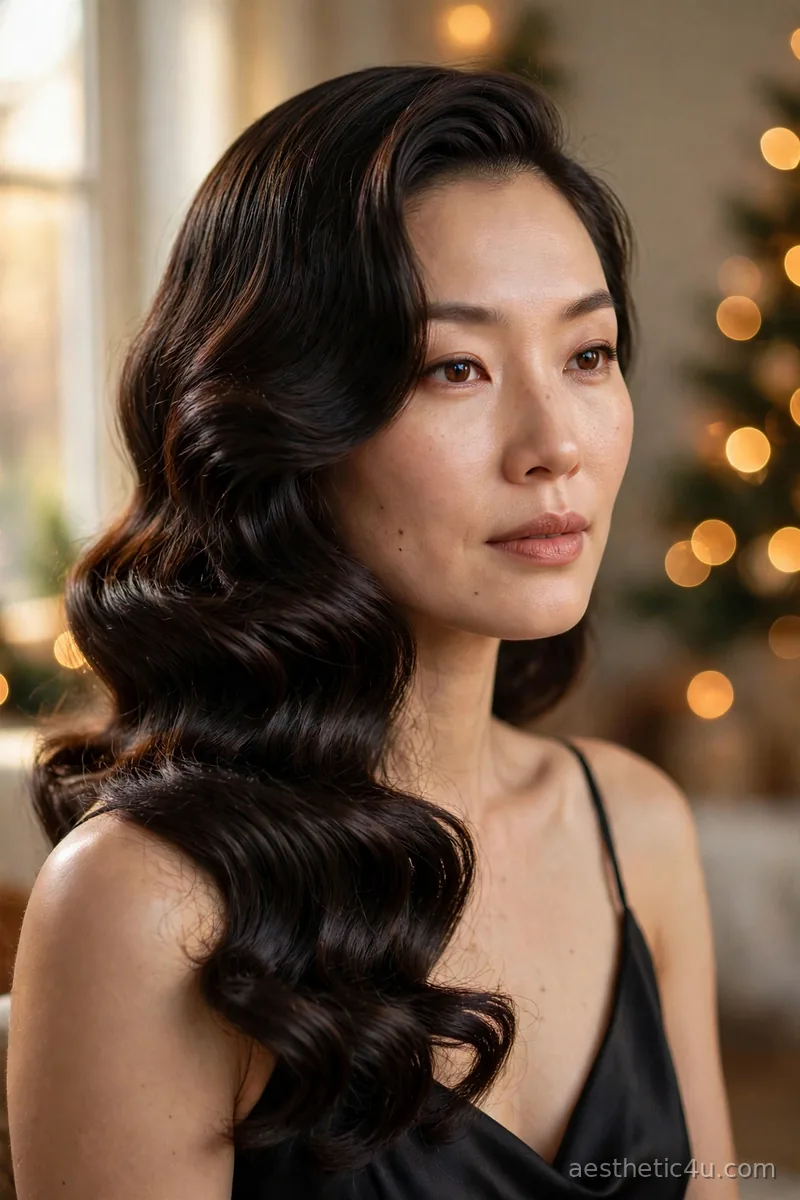
All the hair swept dramatically to one side with polished waves, where one side stays flat and smooth and the other carries all the volume. Create a deep side part, curl everything away from the face with a 1.25-inch iron, then pin the flat side tightly behind the ear with bobby pins crossed underneath. It takes 30 to 40 minutes, is intermediate, and it is a red-carpet classic for a reason. Set the waves with pin curls while they cool so the sweep holds its shape all evening.
This suits oval, heart, and square faces, and it needs medium to long hair to carry the sweep. I’d pick this when I am wearing a statement earring or an off-shoulder dress, because one bare shoulder with swept hair is pure glamour. Pro tip: the pinned side must be truly flat, so smooth it with a strong gel and hide the pins under a small section of hair for a seamless finish.
24. Woven Braided Bun
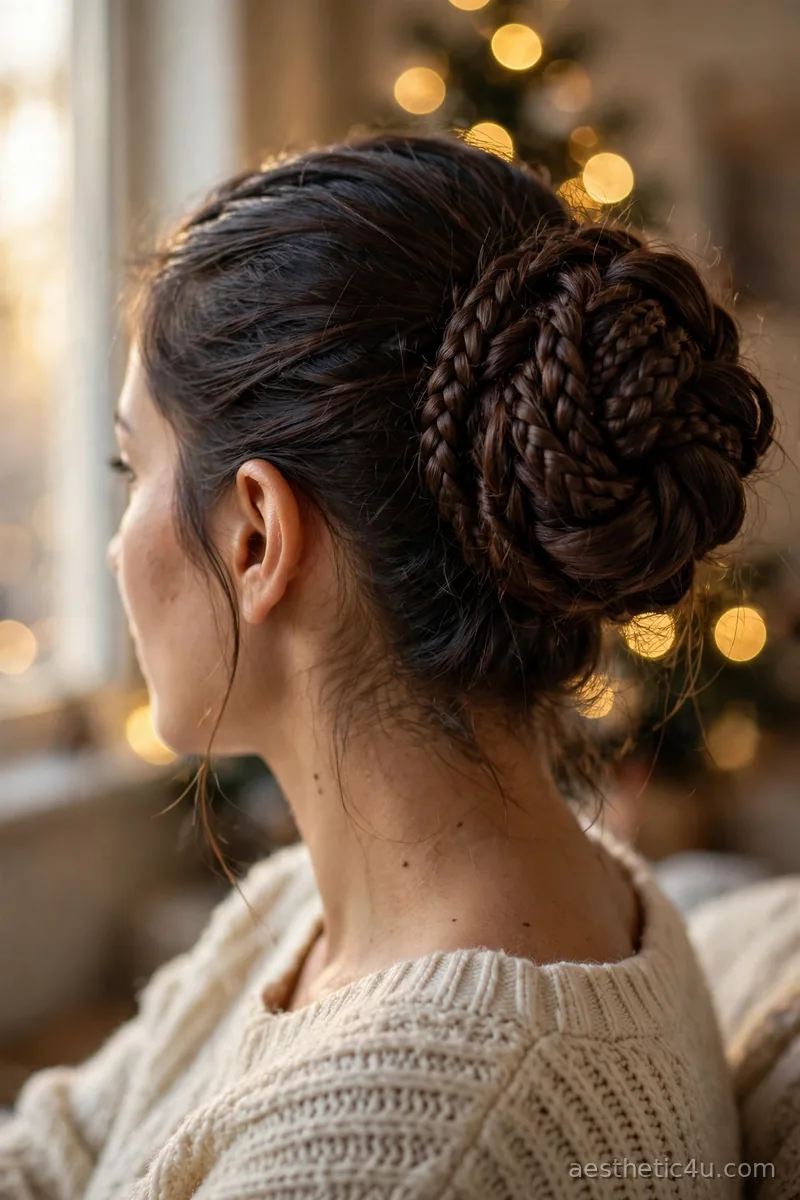
Several small braids woven together into one bun, rich with texture and detail: from far away it reads as an elegant knot, and up close it is full of pattern. Divide the hair into four to six sections, braid each one, then wrap and pin them together at the nape, tucking the ends underneath. It takes 25 to 35 minutes, is advanced, and it holds incredibly well through a whole night of dancing. Pancake each small braid before wrapping so the finished bun looks full, not skinny.
This suits oval, long, and heart-shaped faces and works on medium to thick long hair with enough length for multiple braids. I’d pick this for a formal Christmas event when I want an updo that looks like art. Honest caveat: it is genuinely time-consuming and arm-tiring, so do a trial run on a relaxed weekend first, or split the braiding with a friend.
25. Festive Milkmaid Braids
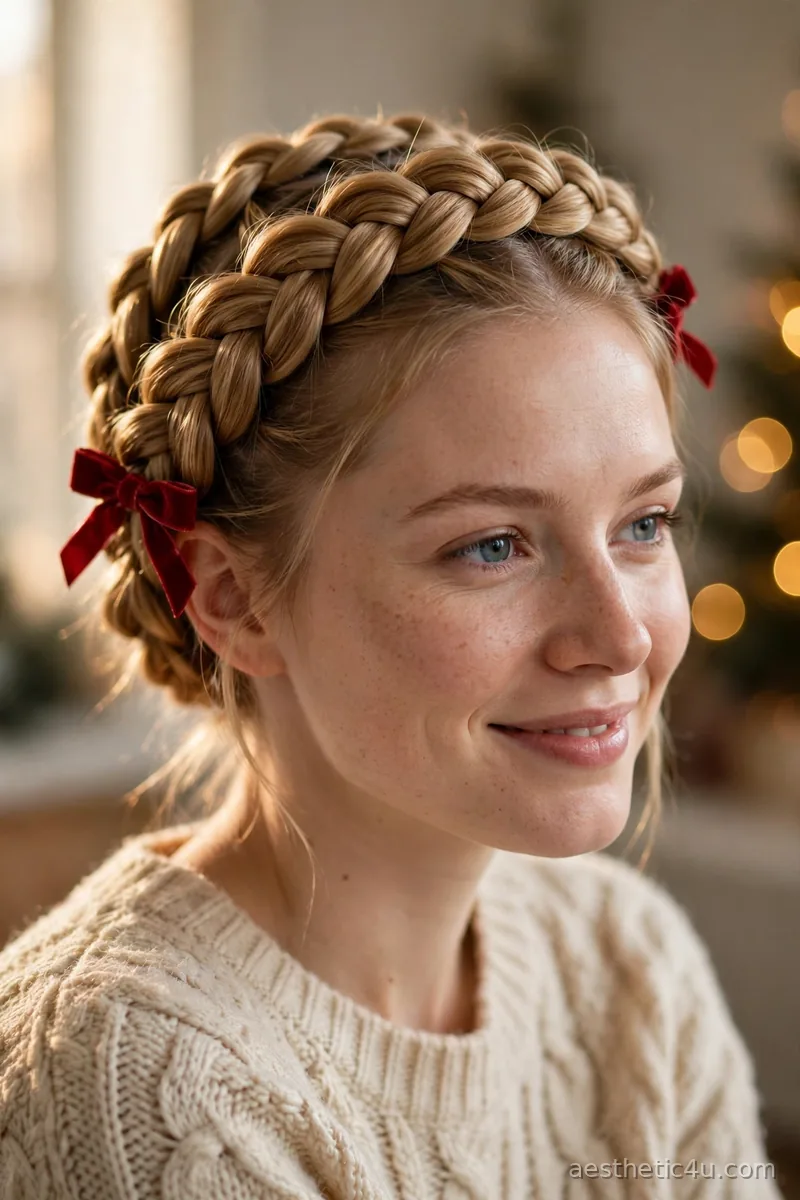
Two braids wrapped over the top of the head like a headband, meeting at the crown and pinned underneath for a sweet, old-fashioned Christmas look. Part down the middle, braid each side normally, cross them over the top, and pin the ends flat against the head, tucking them under the opposite braid. It takes 15 to 20 minutes, is intermediate, and tiny gold pins along the braids make it feel like a crown made for the season. Add the gold pins last so they sit on top of the finished braids.
This suits oval and heart-shaped faces and works on medium to long hair, though very thick hair may need extra pins. I’d pick this when I love a storybook holiday look, because it pairs perfectly with cozy knits and candlelight. Pro tip: braid on slightly dirty hair for grip, and if your braids are too short to meet at the crown, pin them into a half-crown that stops at the ears instead.
How to Choose the Right Christmas Hairstyle for You
Start with your face shape. Round faces look best with height at the crown and asymmetry, like a deep side part or a high ponytail, because vertical lines elongate. Oval faces can wear almost anything, so choose by mood. Heart-shaped faces suit side-swept styles and soft volume at the jawline, which balances a wider forehead. Square faces soften with waves and face-framing strands rather than slicked-back severity.
Then match your hair type and the occasion. Fine hair needs texture tricks: teasing, texturizing spray, and styles that build in grip, like braids and buns. Thick hair can handle sleek, heavy styles but needs strong elastics and extra pins. For a formal dinner, choose polished updos or glass hair; for a casual morning, a ribbon ponytail or messy knot is perfect. Finally, be honest about skill level: pick a beginner style for the actual event day and save the advanced braided crown for a practice weekend.
Styling Tips & Common Mistakes to Avoid
Three tips I give every client. First, style on day-old hair whenever possible, because freshly washed hair is slippery and refuses to hold pins; a little dry shampoo at the roots fixes it instantly. Second, always use a heat protectant before any hot tool, no exceptions, because December heat damage shows up as frizz in January photos. Third, do a full trial run two or three days before the event, timed, so you know exactly how long it takes and whether it survives a few hours.
Now the mistakes. The biggest is overloading on hairspray until the hair turns crunchy and dull; use a flexible-hold spray in light layers instead, and save the strong hold for the final mist. Another is skipping the emergency kit: pack five bobby pins, two elastics, and a travel hairspray in your bag, because even great styles loosen. And never attempt a brand-new advanced style on the morning of the event; stress plus unfamiliar technique is how holiday hair disasters happen.
Final Thoughts
That is my full list of christmas hairstyles for this season, rebuilt with everything I wish someone had told me before my first holiday rush. Pick the one that matches your plans and your mood, do that trial run, and remember that the best holiday hair is the kind you feel good wearing, not the most complicated one on the list. Try it once before the big day so there are no surprises, then forget about your hair and enjoy the people around you. Happy holidays, and enjoy every minute of it.
Follow Us On Pinterest: Easy To Find Next Style